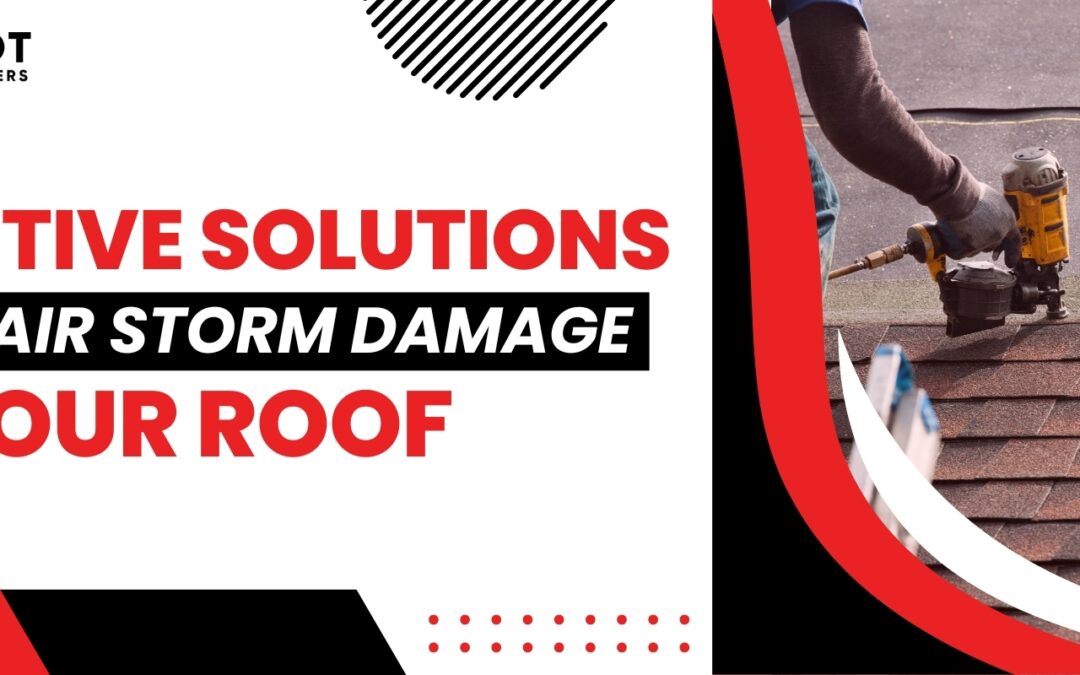
Storms can wreak havoc on homes, particularly on roofs that bear the brunt of high winds, heavy rain, and hail. When faced with the aftermath of a storm, it’s crucial to repair storm damage as quickly as possible to prevent further issues such as leaks, mold growth, and structural instability. This guide will provide valuable insights into assessing storm damage and offer a step-by-step approach to DIY roof replacement.
Common Types of Storm Damage
Storm damage can manifest in various ways, impacting the integrity and functionality of your roof. Common types of damage include:
- Missing Shingles: High winds can lift and remove shingles, leaving your roof vulnerable to leaks.
- Leaks and Water Intrusion: Heavy rain can penetrate the roof, causing water to seep into your home.
- Structural Damage: Severe storms may cause structural issues, such as sagging or buckling, which need immediate attention.
Signs of Storm Damage
Homeowners should be vigilant after a storm and look for signs of damage, including:
- Water Stains on Ceilings: Discoloration or damp spots may indicate leaks from the roof.
- Visible Holes or Cracks: Inspect the roof for any visible breaches or holes that could lead to further damage.
- Debris in Gutters: Accumulation of shingles, branches, or other debris in gutters can signal roof issues.
Assessing the Damage
Safety First
Before inspecting your roof, prioritize safety. Wait until the storm has passed and conditions are stable. If you’re uncomfortable climbing onto the roof, consider using binoculars for a distant inspection or hiring a professional.
Tools Needed for Inspection
Gather essential tools to assess the damage effectively:
- Binoculars: For inspecting the roof from the ground.
- Ladder: To safely reach the roof or higher areas.
- Flashlight: To illuminate dark spaces such as attics or crawl spaces.
Conducting a Thorough Inspection
Follow these steps for a thorough inspection:
- Examine the Exterior: Start from the ground and look for missing shingles, cracks, or visible damage.
- Check the Attic: Look for signs of leaks, such as water stains or dampness.
- Inspect Gutters and Downspouts: Ensure they are clear of debris and functioning properly.
When to Call a Professional vs. DIY
Situations Where DIY Repair is Appropriate
DIY roof replacement may be suitable for minor damage, such as replacing a few missing shingles or sealing small leaks. Homeowners comfortable with heights and basic tools can often handle these tasks effectively.
When to Hire a Professional
However, some situations necessitate professional intervention. Consider hiring a roofing expert if you encounter:
- Extensive Damage: Significant areas of damage or entire sections of the roof missing.
- Structural Issues: Sagging or compromised structures require expert assessment and repair.
- Safety Concerns: If you feel unsafe working on your roof, it’s best to leave it to the professionals.
DIY Roof Replacement Process
Preparing for DIY Replacement
Before starting the roof replacement process, gather the necessary materials and tools:
- Materials: Shingles, underlayment, roofing nails, and sealants.
- Tools: Hammer, pry bar, roofing shovel, utility knife, and safety gear (harness, gloves, goggles).
Step-by-Step Guide to DIY Replacement
- Remove Old Roofing Material: Use a roofing shovel or pry bar to carefully remove old shingles. Be cautious not to damage the underlying structure.
- Inspect and Repair Underlying Structures: Examine the decking for signs of rot or damage. Replace any compromised sections to ensure a solid foundation for new roofing.
- Install New Underlayment: Lay down new underlayment to provide an extra layer of protection against moisture. Make sure to overlap seams properly.
- Lay Down New Shingles: Start from the bottom edge of the roof and work your way up. Install shingles according to the manufacturer’s instructions, ensuring they overlap for optimal coverage.
- Finish with Flashing and Ventilation Installation: Install flashing around chimneys, vents, and other roof protrusions to prevent water intrusion. Ensure proper ventilation to reduce moisture buildup.
Safety Tips for DIY Replacement
While working on the roof, keep these safety tips in mind:
- Wear Safety Gear: Always wear a harness and secure it to a stable point.
- Avoid Working Alone: Have a partner to assist you and ensure safety.
- Be Mindful of Weather Conditions: Avoid working on your roof during wet or windy conditions.
How to Repair Storm Damage
Quick Fixes for Minor Damage
If you identify minor damage after a storm, consider these temporary fixes:
- Tarps: Use tarps to cover exposed areas until permanent repairs can be made.
- Sealants: Apply roofing sealants to small leaks to prevent further water intrusion.
Long-Term Repair Strategies
For long-term solutions, prioritize comprehensive repairs:
- Replace Missing Shingles: Ensure that any missing or damaged shingles are replaced to maintain roof integrity.
- Repair Structural Damage: Address any underlying structural issues promptly to prevent further complications.
Conclusion
In the aftermath of a storm, addressing roof damage quickly is vital to protect your home and ensure safety. Understanding how to repair storm damage and considering DIY roof replacement can save you time and money while maintaining your home’s integrity.
However, don’t hesitate to call in professionals for extensive damage or if you’re unsure about your repair abilities. By being proactive and knowledgeable, you can safeguard your home against future storms and enjoy peace of mind.

